
The end-of-job checklist
Post-remediation verification checklist for mold jobs
What has to pass, in order, before containment comes down and rebuilding starts.
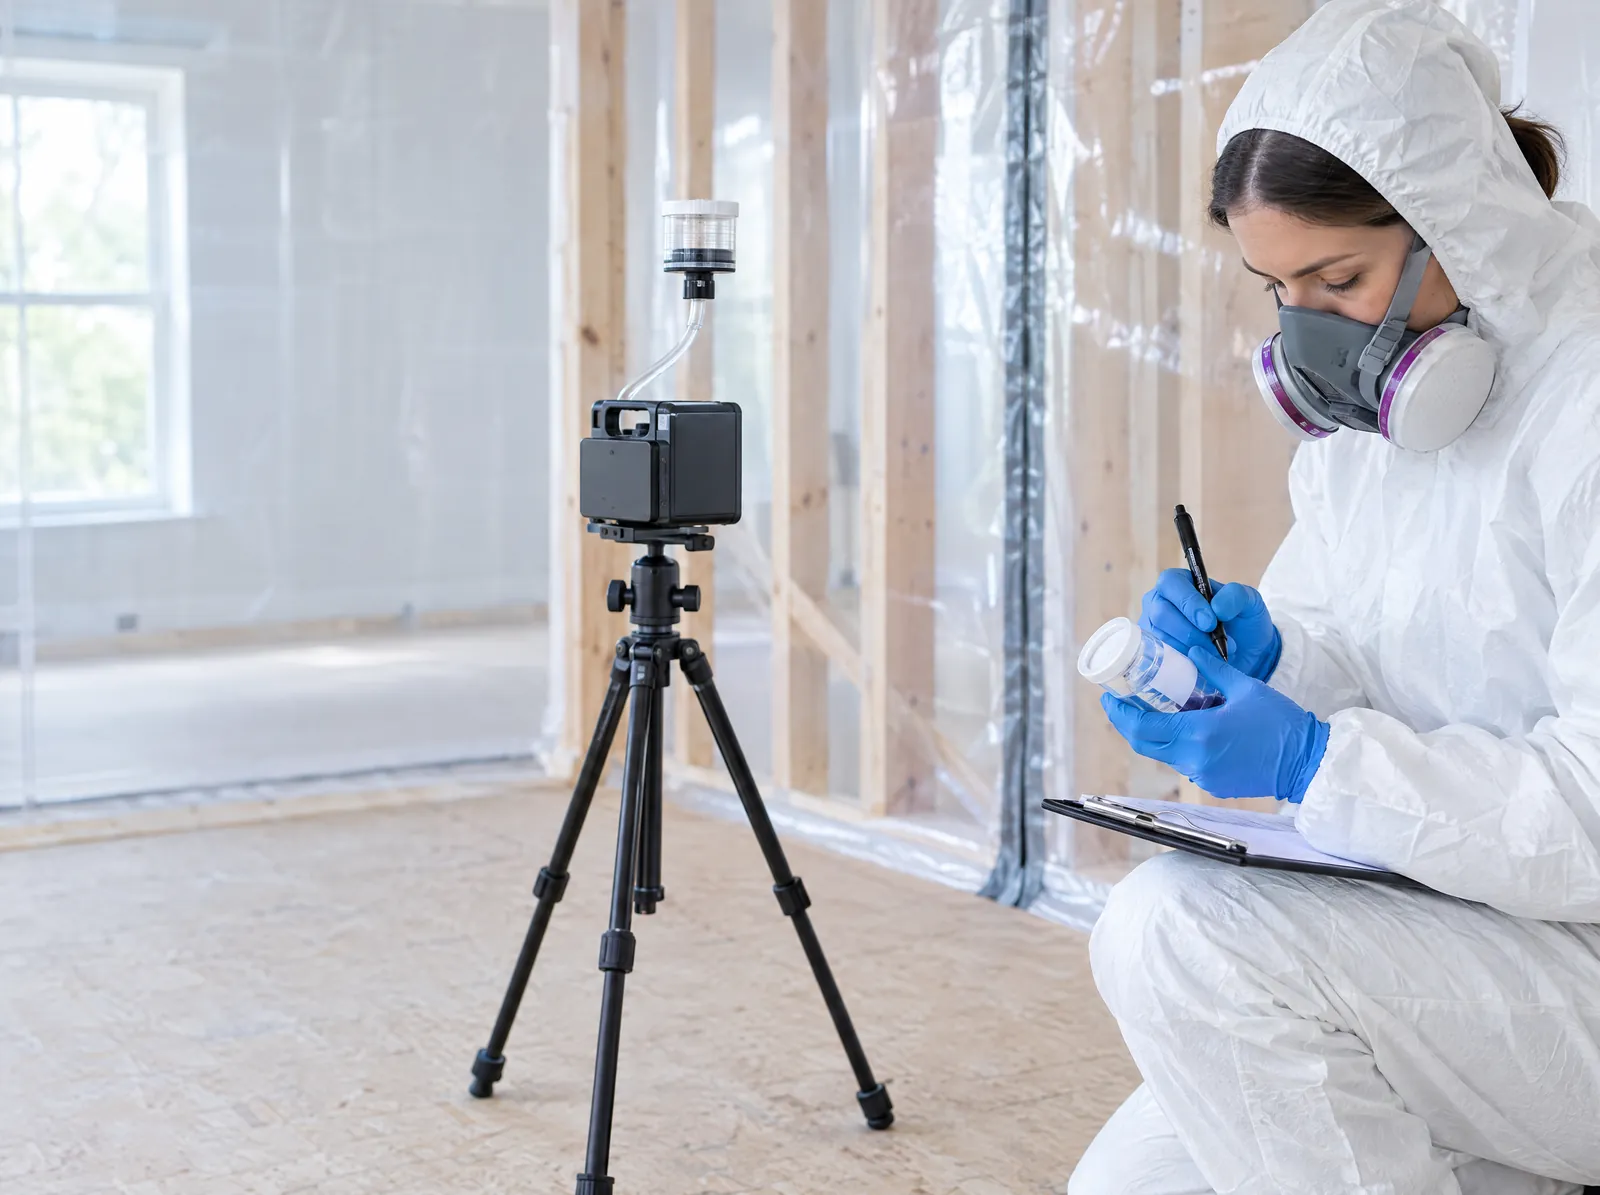
What is a post-remediation verification checklist?
A post remediation verification checklist is the list a mold remediation must pass before containment comes down. It confirms the moisture source is fixed and materials read dry, no visible growth or debris remains, surfaces were HEPA vacuumed and wiped to the cleaning standard, and the work is documented with photos and readings. Clearance testing by a lab is one item on that list, and it comes last.
A job that ends with a handshake
Many mold jobs end with a walk-through and a handshake. The stain is gone, the new drywall is ready to go up, the crew is packing the truck. But nobody checked the moisture readings, nobody looked at the tops of the framing, and nobody wrote anything down. A lab test at that point can't fix those gaps: samples don't find a leak, and they don't prove a wall was dry when it was closed. The checklist exists so every part of the finish is checked, in the right order, while the plastic is still up.
Sound familiar?
- The containment came down the same day the crew finished.
- Your remediation company sent samples to a lab before the area was even dry.
- You have an invoice but no photos, moisture readings or report.
- The drywall went back up before anyone confirmed the leak was fixed.
We do it differently.
| Handshake finish | AME verification checklist | |
|---|---|---|
| Moisture source | Assumed fixed | Repair confirmed and materials read dry |
| Visual | Looks clean | No visible growth, debris or dust, documented with photos |
| Cleaning | Wiped where it shows | HEPA vacuumed and damp wiped, including framing tops and the plastic |
| Clearance testing | Skipped, or done first | Done last, after every other item passes |
| Containment | Down before any checks | Stays up until the full checklist passes |

Why families trust us with their homes
-
Family-owned since 2008
A multigenerational family business. Not a franchise, not a private-equity rollup.
-
Credentialed where it isn't required
Indiana doesn't license mold remediators. We hold IICRC, CMR, CRMI and CCMI credentials anyway.
-
Called on as experts
Attorneys bring us into legal cases involving mold and mycotoxins.
-
Lab results in 24 to 48 hours
Every inspection comes with a written report, color photos and lab results.
- IICRC Certified Firm
- CMR
- CRMI
- CCMI
- BBB A+ Accredited
- NAMRI
- IAQA
- NORMI
- AMMA
- PMII
The AME Clearance Method
The checklist, in order
Each item has to pass before the next one is worth doing. A fail sends the job back a step, not to the start.
Talk to a specialist-
Moisture source fixed
The leak, grading problem, condensation or plumbing failure that fed the mold has been repaired, and the repair is described in writing.
-
Materials read dry
Framing, subfloor and remaining drywall are measured and compared with the same materials in an unaffected part of the home.
-
Removal complete
Every material the scope called for removing is out, bagged and gone, and nothing was left behind a cabinet or under a stair.
-
Cleaning standard met
Remaining surfaces are HEPA vacuumed and damp wiped, including framing tops, sills, floor edges and the inside of the plastic.
-
Visual inspection passed
No visible growth, debris or settled dust anywhere inside containment, checked with a bright light and photographed.
-
Containment and air scrubbers checked
Barriers are still sealed and air scrubbers have run long enough to clean the air, then are managed as the sampling plan requires.
-
Clearance testing
Air, surface and, where needed, dust or mycotoxin samples go to the lab. Results typically come back in 24 to 48 hours.
-
Documentation and teardown
Photos, readings and lab results go into your report. Only then is containment cleaned, taken down and bagged, and rebuilding can start.
What you should have when the checklist is done
- A written description of the moisture repair
- Moisture readings for the work area and a dry reference
- Before, during and after photos of the work area
- Confirmation that every scoped material was removed
- A documented visual inspection with no visible growth or dust
- Notes on containment and air scrubber use
- The clearance lab report with original results
- Mycotoxin results on projects that called for them
- A record of anything that failed and how it was corrected

Proof you can hold in your hands
When we finish, you don't get a handshake and a promise. You get the paperwork your family, your doctor, your insurer or your buyer can rely on.
Inspection report
What we found, where it is coming from, with color photos.
Written remediation plan
Scope, timeline and what will and won't be removed, before work starts.
Clearance lab report
Air, surface and mycotoxin results after the work is done.
A report for your doctor
With your permission, we share results directly with your care team.
Post-remediation verification, explained
What the checklist is measuring against
Mold spores are part of normal outdoor air, and some always make their way indoors. So the goal of remediation was never zero mold. The IICRC S520 standard frames the target as returning the work area to normal fungal ecology: the kinds and amounts of mold you’d expect in a comparable building without a water problem. Every item on a post-remediation verification checklist is a piece of that goal. Fixing the moisture keeps growth from coming back. Removal and cleaning take away what grew. The visual inspection and the lab work confirm that what’s left looks like a normal space.
The checklist at a glance
| Item | What passes | Evidence you should get |
|---|---|---|
| Moisture source | The cause is repaired, not just dried out | A written description of the repair |
| Moisture readings | Materials in the work area read like the same materials in a dry part of the home | A log of readings and locations |
| Removal | Everything in the scope is out | Photos of the opened area |
| Cleaning | Surfaces HEPA vacuumed and damp wiped | Photos of cleaned framing and surfaces |
| Visual inspection | No visible growth, debris or settled dust | Documented inspection with photos |
| Containment and air | Barriers intact, air scrubbers run as planned | Notes in the project record |
| Clearance testing | Lab results meet the criteria in the scope | The original lab report |
Moisture comes first
Mold grows where water is. If the leak, the condensation or the grading problem that caused it is still there, nothing else on the list matters for long. So the first item is a repair, described in writing, and the second is proof that the materials have dried. Dry isn’t a feeling. It’s a set of meter readings on the framing, subfloor and remaining drywall, compared with the same kinds of materials in a part of the house that never got wet. A stud that still reads high means the wall isn’t ready to close, however clean it looks.
The cleaning standard and the visual check
Once materials are removed, what’s left is cleaned, not just sprayed. The usual sequence is a HEPA vacuum pass, a damp wipe, and another HEPA pass, working from the top of the space down. The places that fail most often are the ones nobody looks at: the tops of framing and ductwork, window sills, the joint between the floor and the wall, and the inside of the plastic sheeting itself.
The visual inspection follows the cleaning. With a bright light, every surface inside containment is checked for visible growth, debris and settled dust, and the result is photographed. If it doesn’t pass, the area gets cleaned again. There’s no point paying for lab samples in a room that visibly isn’t clean yet.
Containment and air scrubbers until the end
Containment stays up through the whole checklist. It keeps the result isolated, so what’s measured reflects the work area and not the rest of the house, and it means any correction happens under the same protection as the original work. Air scrubbers run long enough to clean the air inside the enclosure, and then are managed as the sampling plan requires. Our page on how mold containment works explains the barriers and negative air in more detail. When the list is finished, the plastic itself is HEPA vacuumed, folded inward and bagged, so the dust on it leaves with it.
Clearance testing: one line on the list
Lab sampling is the last item, not the whole job. It only makes sense after the area is dry, clean and visibly clear, because its purpose is to confirm what the earlier steps achieved. Air samples in the work area are compared with outdoor air and an unaffected room, and surface, dust or mycotoxin samples are added when the project calls for them. Which samples to take, what counts as a pass and how to read the report are covered on our page about mold clearance testing.
When an item doesn’t pass
It happens, and it isn’t a disaster. It’s the checklist working. A wet reading means more drying time. Dust on the framing means another round of cleaning. A failed lab sample usually points to fine dust left behind, and sometimes to a small area of growth that was missed. The job goes back to the step that failed and picks up from there. A company that has never had an item fail either checks rarely or doesn’t tell you. We’d rather find it while the barriers are still up.
Keep the paperwork
The documentation is part of the checklist for a reason. Photos, moisture logs and the lab report are what you’ll hand to an insurer, to a doctor, or to a buyer years from now. If you’re buying a home where remediation was done, ask the seller for exactly these records; our answer on whether it’s safe to buy a house that had mold remediation covers what else to ask for. For projects where toxins were involved, spore counts can’t show what’s left in the dust, which is why we add mycotoxin testing when the project warrants it. See mycotoxins after remediation for why. For Indiana projects, see mold remediation in Indiana.
We remove mold and mycotoxins from buildings. We don’t diagnose or treat medical conditions. If anyone in your home has symptoms, please work with a doctor. With your permission, we’re glad to share the verification records with them.
Common questions
Have a question that isn't here? Call a specialist
Is post-remediation verification the same as clearance testing?
Clearance testing is part of it. Post-remediation verification is the whole checklist a job must pass before containment comes down: moisture fixed, materials dry, removal complete, cleaning standard met, visual inspection passed and the work documented. Clearance testing is the lab-sampling step at the end.
Why not just test and skip the rest?
Because samples can't tell you a leak was fixed or a wall was dry when it was closed. A room can pass an air test and still grow mold again months later if the moisture source is still there.
Can containment come down before the lab results?
It shouldn't. If a sample fails after the plastic is down, the fix has to happen in an open house. Keeping containment up until every item passes means any correction happens under the same protection as the original work.
What happens if one item fails?
The job goes back to that step. Wet materials get more drying time, dust gets another round of HEPA cleaning, and missed growth gets removed. Then the checklist picks up from there.
Who should sign off on the checklist?
The remediator is responsible for completing it. Many owners also want an independent assessor to handle the clearance testing step, and we welcome that. Either way, ask for the photos, readings and lab report, not just a verbal all-clear.
Does the checklist include mycotoxins?
Not in most of the industry. We add mycotoxin dust testing when the project warrants it, for example when a family is dealing with mold-related illness, because spore counts can't show toxins that stay behind after mold is removed.
When can rebuilding start?
After the whole checklist passes and containment comes down. Closing a wall before the materials read dry, or before clearance, risks sealing the original problem back in.
We're done when the lab says so.
Every remediation ends with clearance testing, and our work is backed by a complete-removal guarantee. We don't close a job on a failed result.
Talk to a specialistWant someone to check the finish?
Tell us what was done and what paperwork you have. A specialist will call you back to walk through the checklist with you.
- (833) 772-6653
- info@americanmoldexperts.com
- Open 7 days, 8am to 8pm